Introduction
Have you ever wondered what powers your electronic devices? Picture this: you’re working on an exciting project, and suddenly your circuit stops functioning. You realize that the source of power is crucial to your project’s success. In this tutorial, we will explore the fascinating world of power supplies, or Fuentes de Alimentación, and how they play a pivotal role in the operation of electronic devices.
Power supplies are ubiquitous in our daily lives, found in everything from simple LED circuits to complex computer systems. Understanding how they work and how to select the right one for your project can mean the difference between success and frustration. This tutorial will guide you through the essentials of power supplies, explain their components and functionalities, and provide hands-on experience through a practical project. By the end, you will be equipped with the knowledge needed to make informed decisions about power supplies in your future electronics endeavors.
Power supplies are not just mere accessories; they are the lifeblood of any electronic circuit. They convert electrical energy from a source into a usable form, ensuring that all components operate within their specified parameters. Whether you are powering a small microcontroller or a large industrial machine, the principles of power supply design remain fundamentally the same. With this understanding, you will be better prepared to tackle various projects, troubleshoot issues, and optimize performance.
What it’s used for and how it works
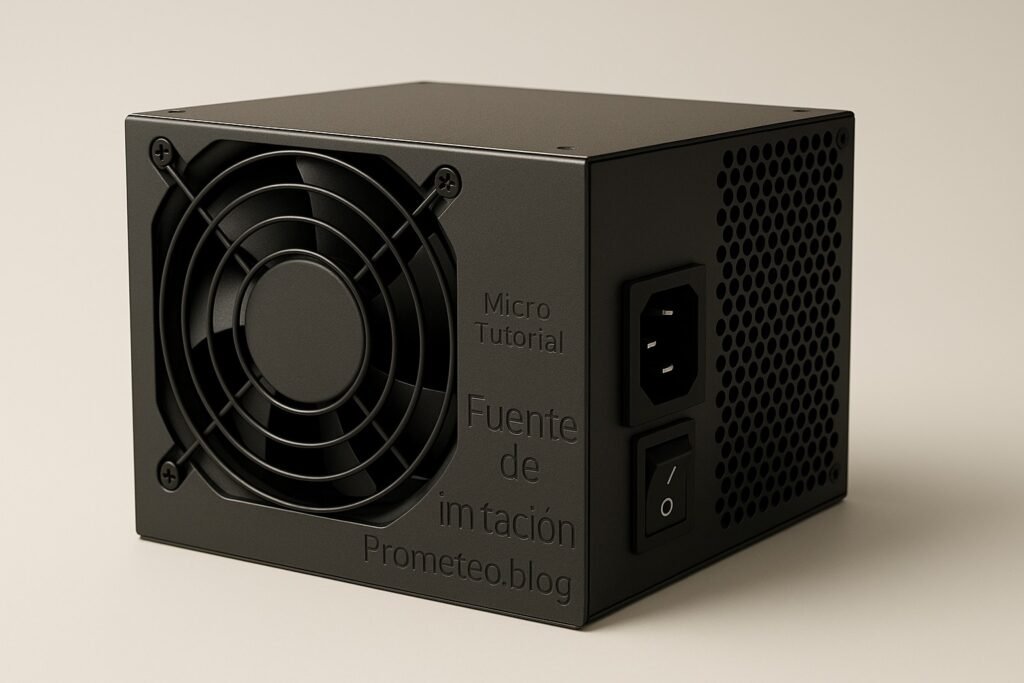
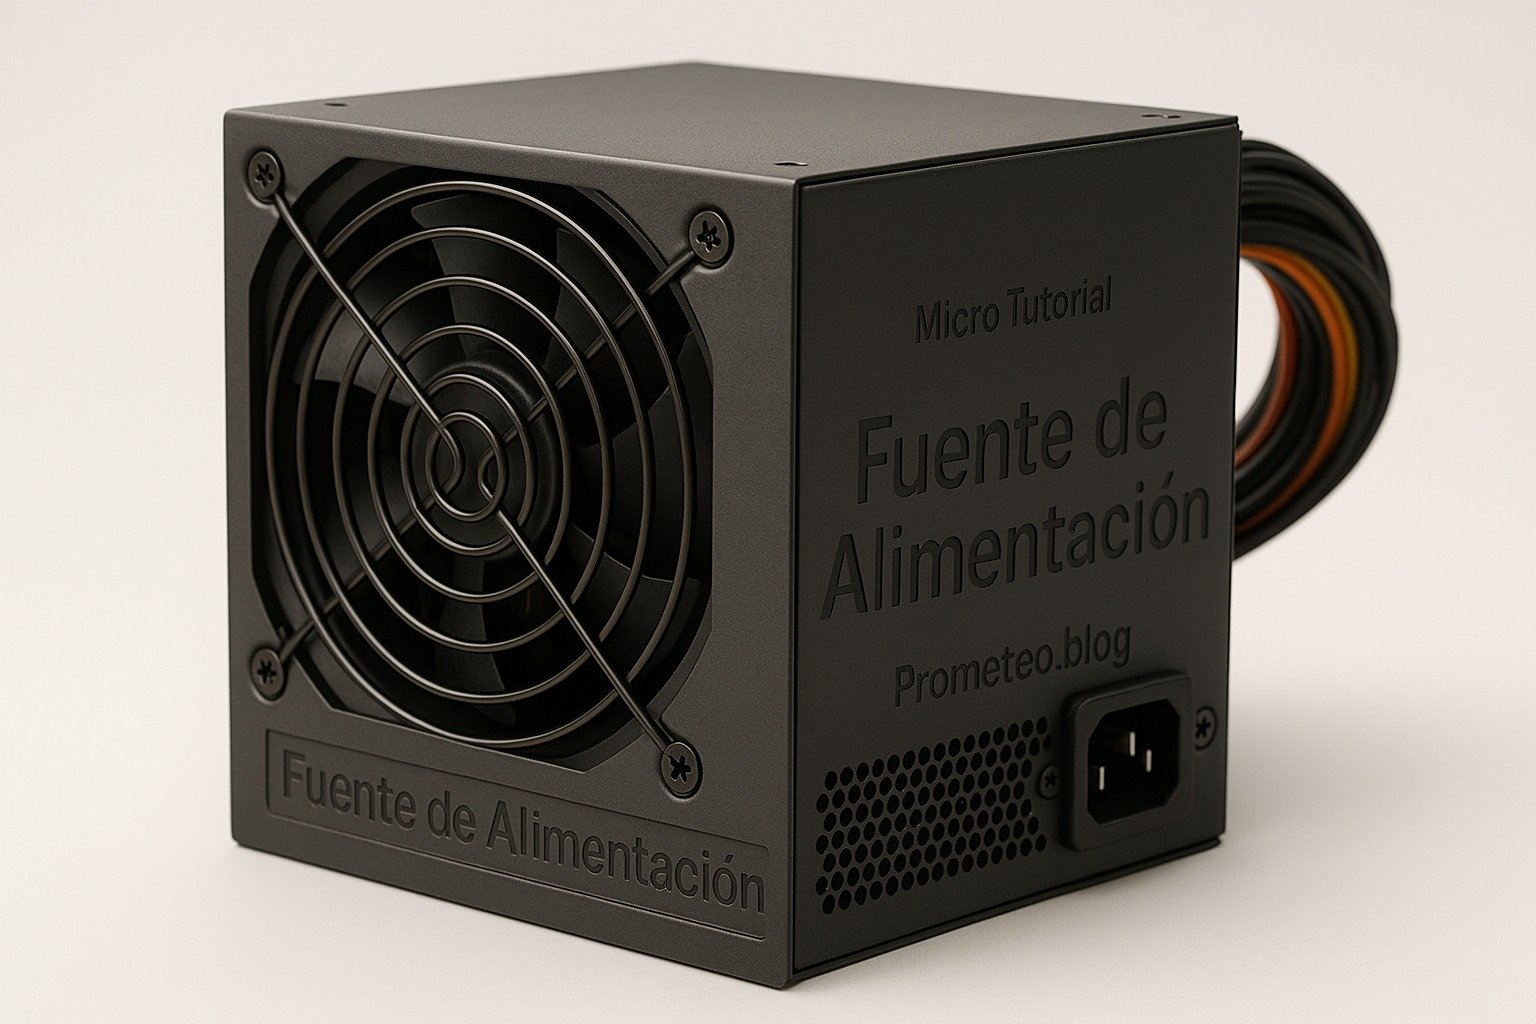
A Fuente de Alimentación, or power supply, is an essential component in any electronic system. Essentially, it converts the electrical power from a source (like your wall outlet) into a usable form for your devices. You might find them in devices ranging from computers to home appliances, making them incredibly versatile.
When we refer to a power supply, we are talking about the device that provides power to your circuits. There are various types, but they all share the same goal: to deliver the right amount of power to the right components. Power supplies can be categorized mainly into two types: linear power supplies and switching power supplies. Let’s delve deeper into how each of these works.
Linear Power Supplies
Linear power supplies work by using a transformer to convert the high voltage AC from the wall outlet into a lower voltage AC. Afterward, it rectifies this AC to DC using diodes. The filtering capacitors smooth the output voltage, providing a cleaner DC signal.
You might be wondering about the pros and cons. Well, linear supplies are known for their simplicity and reliability but can be inefficient and generate heat, especially under heavy loads. For example, if you are powering a high-current device, the linear power supply may waste energy in the form of heat rather than delivering it to the load. This inefficiency can lead to overheating, which is why adequate cooling is often necessary.
Linear power supplies are often preferred in applications where low noise is crucial. For instance, in audio equipment, a linear power supply can provide a cleaner output, which is essential for maintaining sound fidelity. However, they are bulkier and heavier than their switching counterparts, making them less suitable for compact devices.
Switching Power Supplies
On the other hand, switching power supplies operate differently. Instead of using a transformer to step down the voltage, they convert the AC voltage to high-frequency AC. This high-frequency AC is then transformed down to the required voltage level.
Switching power supplies are generally more efficient and compact compared to linear types. They can achieve efficiencies of 80% to 95%, making them ideal for applications where space and energy conservation are critical. However, they can introduce noise into the output, which might affect sensitive applications. For instance, if you are working on audio equipment, the noise generated by a switching power supply could interfere with sound quality.
The operation of a switching power supply involves several stages:
1. Input Stage: The AC voltage is rectified and filtered to provide a smooth DC voltage.
2. Switching Stage: High-frequency switching transistors turn the DC voltage into a high-frequency AC signal.
3. Transformer Stage: This high-frequency AC signal is transformed to the desired voltage level.
4. Output Stage: The voltage is rectified and filtered again to produce a stable DC output.
This multi-stage process allows switching power supplies to be more compact and lightweight, as they do not require large transformers. They are commonly found in laptops, mobile phone chargers, and other portable devices where space is at a premium.
Components of a Power Supply
Now, let’s take a closer look at the components involved in a typical power supply. Many power supplies include a transformer, rectifier, filter, and voltage regulator. Each of these components plays a vital role in ensuring that your devices receive the correct power.
Rectification
Rectification is the process of converting AC to DC. You typically use diodes for this function, which allow current to flow in one direction only. This process results in a pulsating DC signal, which is then smoothed out using capacitors. The rectification can be done using half-wave or full-wave methods, with full-wave rectification providing a smoother output.
Half-wave rectification uses only one half of the AC waveform, leading to a significant ripple in the output. In contrast, full-wave rectification utilizes both halves of the waveform, resulting in a smoother DC output. This is particularly important in applications where voltage stability is critical.
Filtering
The filtering stage reduces the ripple in the DC output. Capacitors are commonly used here to store charge and release it slowly, ensuring a steady voltage. You might have encountered this in audio applications, where a stable power supply is crucial for sound quality. In fact, the quality of the filtering can significantly impact the performance of your entire circuit.
In some applications, additional filtering components, such as inductors or ferrite beads, may be used to further reduce noise and ripple. This is especially important in sensitive electronics, where even minor fluctuations in voltage can lead to performance degradation.
Voltage Regulation
Voltage regulation ensures that the output voltage remains constant, regardless of variations in load current. Voltage regulators can be linear or switching types. They maintain the output voltage within a specified range, ensuring your devices operate correctly without damage. This regulation is particularly important in sensitive applications, where slight fluctuations in voltage can lead to malfunction or even damage.
Linear voltage regulators are simple and effective but can be inefficient, especially when there is a large difference between input and output voltage. Switching regulators, on the other hand, are more complex but offer higher efficiency, making them suitable for battery-powered applications.
In summary, a Fuente de Alimentación is not just a simple component; it is a complex device that ensures your electronic projects function smoothly. Understanding how they work helps you choose the right power supply for your needs.
Key parameters
When selecting a power supply, there are several key parameters to consider. Knowing these will help you make informed decisions based on your project requirements.
| Parameter | Typical Value |
|---|---|
| Output Voltage | 5V, 12V, 24V |
| Output Current | 1A, 2A, 10A |
| Efficiency | 70% – 95% |
| Ripple Voltage | < 100mV |
| Load Regulation | ±5% |
| Temperature Range | -20°C to 70°C |
Here, the output voltage is perhaps the most crucial aspect. It must match the voltage requirements of your components. For example, if you are powering a microcontroller that operates at 5V, using a supply that outputs 12V could damage the component.
Additionally, output current is essential; it indicates how much current the power supply can deliver safely. If your project requires more current than the supply can provide, you may experience voltage drops or even failure of the power supply. It is prudent to choose a power supply with a current rating higher than your calculated needs to accommodate any fluctuations during operation.
Efficiency is another critical factor, as a higher efficiency means less heat generation and lower energy costs. This is particularly important in battery-operated devices, where conserving energy can extend battery life. A power supply with high efficiency will also contribute to the longevity of your components by minimizing heat stress.
Ripple voltage indicates how much AC voltage remains in the DC output. The less ripple, the better your power supply will perform in sensitive applications. For instance, in precision analog circuits, high ripple can introduce errors in signal processing. Therefore, selecting a power supply with low ripple specifications is vital for high-performance applications.
Load regulation refers to how well the output voltage stays constant under varying load conditions. A power supply with good load regulation will maintain its output voltage even when the load changes, which is vital for maintaining consistent performance. This is essential in applications such as robotics, where varying loads can occur frequently.
Lastly, the temperature range indicates the operating environment in which the power supply can function effectively. If your project is intended for outdoor use, for example, you will need a supply that can handle lower temperatures. Conversely, if it will operate in a high-temperature environment, ensure that the power supply can withstand those conditions without failure.
Hands-on practical project
Let’s consider a concrete use case to understand power supplies better. Imagine you’re building a simple LED display project. You have a series of LEDs that require a specific voltage and current to light up effectively. Here’s how you would go about selecting the right Fuente de Alimentación for this project.
Project Overview
Your project consists of 10 LEDs, each requiring 20mA at 12V. Therefore, you’ll need a power supply that can deliver at least 12V and 200mA (10 LEDs x 20mA). However, to ensure that you have enough current available for fluctuations, you might want to choose a power supply rated for 500mA.
Choosing the Right Power Supply
When selecting a power supply, you first check the output voltage. Since your LEDs operate at 12V, you should look for a power supply that outputs 12V. You might find several options, like a linear power supply or a switching power supply.
If you choose a linear power supply, you must ensure that it can handle the required current without overheating. For example, a linear supply rated for 500mA would be suitable, but make sure it has adequate heat sinking to manage the heat generated. Linear supplies are often more straightforward to implement, as they typically have fewer components and are easier to understand.
On the other hand, a switching power supply would likely be more compact and efficient, making it a more suitable choice for a smaller project. These supplies often come in small packages and can provide the necessary power without taking up too much space. Additionally, their higher efficiency means less heat generation, which can be a significant advantage in compact designs.
Connecting the Power Supply
Once you have selected your power supply, the next step is to connect it to your LED circuit. Start by ensuring that your circuit is turned off before making any connections. Connect the positive terminal of the power supply to the anodes (positive side) of the LEDs and the negative terminal to the cathodes (negative side).
It’s also a good practice to include a current-limiting resistor in series with the LEDs to prevent them from drawing too much current. For example, if you are using a 12V supply and your LEDs have a forward voltage drop of 2V, you can calculate the resistor value needed to limit the current to 20mA using Ohm’s Law.
Using Ohm’s Law, V = I × R , you can rearrange it to find the resistor value R :
– The voltage across the resistor V(R) = V(supply) – V(LED)
– In this case, V(R) = 12V – 2V = 10V
– To find R , use R = V(R) / I = 10V / 0.02A = 500Ω
A standard resistor value of 470Ω or 560Ω can be used, ensuring that the current stays within safe limits while keeping the LEDs adequately lit.
Testing the Circuit
After connecting everything, it’s time to test your circuit. Turn on the power supply and observe whether the LEDs light up as expected. If they do, congratulations! Your power supply works well with your project. In case some LEDs do not light up, check the connections and ensure that the power supply is functioning correctly.
If the LEDs do not light up, it may be due to several factors, such as incorrect wiring, a faulty LED, or an inadequate power supply. Always troubleshoot systematically, starting from the power supply and moving through each connection to ensure everything is functioning correctly.
This project demonstrates the importance of selecting the right power supply. Using an appropriate Fuente de Alimentación ensures that your LEDs operate efficiently and safely, highlighting the role it plays in any electronic design. Additionally, you can expand this project by adding more LEDs or integrating other components, which will further reinforce the need for a reliable power supply.
Common mistakes and how to avoid them
When working with power supplies, it’s easy to make mistakes that could lead to project failures. Here’s a list of common pitfalls and tips to avoid them:
-
Choosing the wrong voltage: Always double-check the voltage requirements of your components before selecting a power supply. If unsure, consult the datasheets or specifications for your components. Using a supply with a voltage too high can damage sensitive components, while a voltage too low may prevent them from functioning altogether.
-
Underestimating current needs: Ensure that the power supply can deliver enough current for your application, especially if multiple components are involved. It’s better to choose a power supply with a higher current rating than you think you need. This ensures that your circuit operates reliably, even under peak loads.
-
Ignoring ripple voltage: For sensitive electronics, keep ripple voltage in mind; it can affect performance. If your application is sensitive to noise, consider using a power supply with low ripple specifications. This is particularly important in precision applications like audio processing or data acquisition.
-
Poor thermal management: Make sure your power supply has adequate cooling; overheating can lead to failure. If you are using a linear power supply, ensure proper heat dissipation through heat sinks. For switching supplies, ensure that the airflow around the unit is sufficient to keep temperatures within safe limits.
-
Neglecting safety features: Opt for power supplies with built-in protection features like overcurrent and short-circuit protection. These features can save your project from catastrophic failures. In the event of a fault, these protections can cut off power and prevent damage to your components.
-
Improper connections: Double-check all connections before powering up to avoid short circuits or damage to components. It’s also advisable to use proper connectors to prevent accidental disconnections. A well-organized and secure connection setup can significantly reduce the risk of errors.
By being aware of these common mistakes, you can significantly improve your project’s success rate. Remember, a little diligence in the planning and setup phase can save you a lot of time and resources later on.
Conclusion + call to action
In conclusion, a Fuente de Alimentación is a vital component that ensures your electronic projects function as intended. Understanding its operation, key parameters, and common pitfalls will empower you in your design processes. As you embark on your next project, remember the importance of selecting the right power supply to match your components’ requirements. You can enhance reliability and performance with the right knowledge.
So, don’t hesitate to explore various options and dive deeper into the world of power supplies. Happy building!
More information at prometeo.blog
Third-party readings
- La Fuente de Alimentación o de Poder – Cómo Montar/Armar una Computadora Guía Manual Tutorial Course Full HD Descargar Download Web Diseño Design Guide Gratis Free Mega Mediafire
- PRACTICA Nº 2 (La Fuente de Alimentación) – Técnico en Sistemas Microinformáticos
- Tutorial: Fuente de alimentación de 5V – NeoTeo
Find this product and/or books on this topic on Amazon
As an Amazon Associate, I earn from qualifying purchases. If you buy through this link, you help keep this project running.
Quick Quiz

Telecommunications Electronics Engineer and Computer Engineer (official degrees in Spain).