Introduction
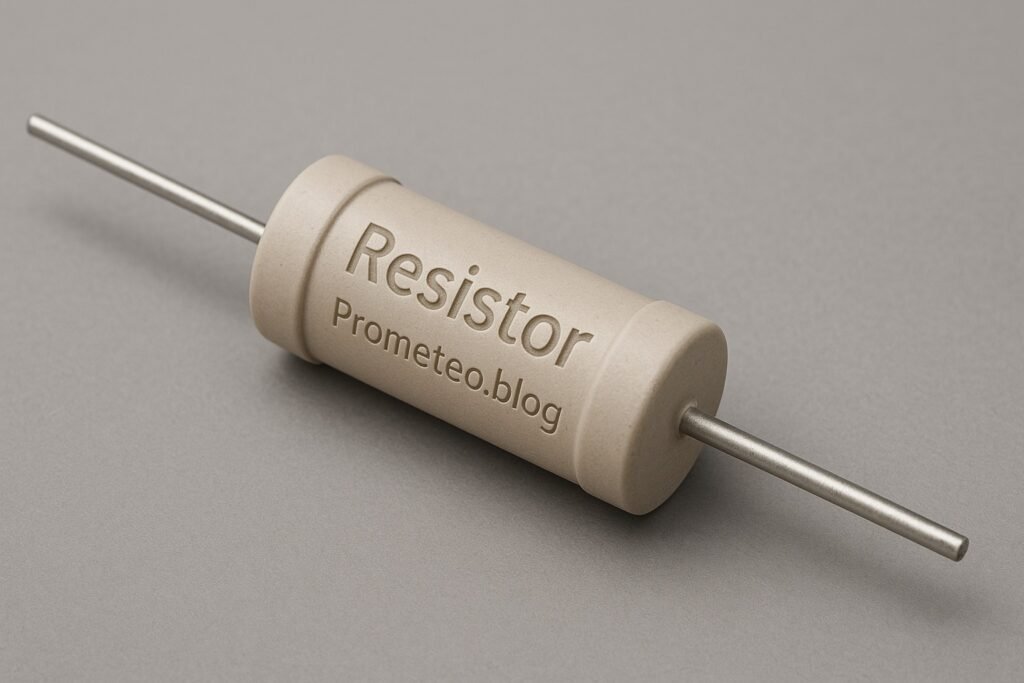
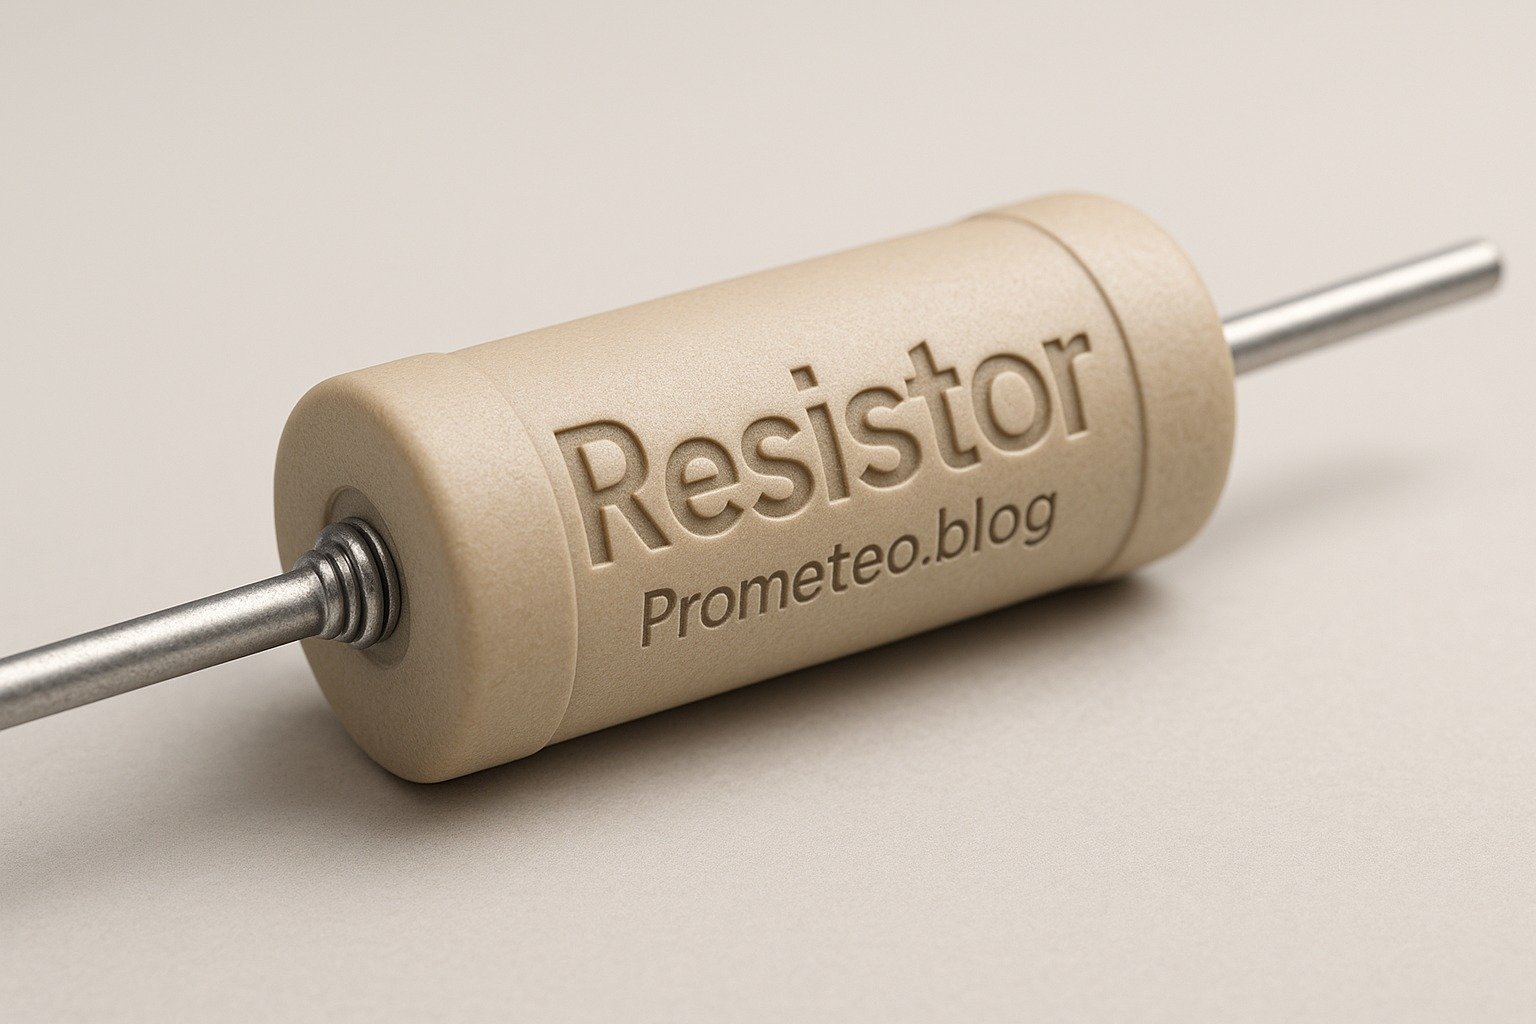
In my early days as an electronics enthusiast, I vividly remember the first time I connected a resistor incorrectly. The circuit failed to work, and I was puzzled, staring at the components as if they held the secrets to the universe. It was then I learned how crucial resistors are in controlling current and ensuring the proper functioning of electronic circuits. Resistors are not just passive components; they are the unsung heroes of circuit design, quietly shaping the behavior of our electronic devices. In this tutorial, we will explore the essential role of resistors, how they operate, their key parameters, and even build a hands-on project to solidify our understanding.
What it’s used for and how it works
Resistors are fundamental components in electronics, serving various purposes across countless applications. Their primary role is to control the flow of electric current by introducing resistance into a circuit. The most common function of a resistor is to limit the current flowing through a circuit, thereby protecting sensitive components like LEDs, transistors, and integrated circuits from excessive current that could lead to damage.
When you connect a resistor in series with a load, such as an LED, it divides the voltage across the load and the resistor according to Ohm’s Law. Ohm’s Law states that the voltage (V) across a resistor is equal to the current (I) flowing through it multiplied by its resistance (R). This relationship can be expressed by the formula:
V = I × R
This formula allows you to calculate the necessary resistance needed to achieve a specific voltage drop or current level in your circuit. For instance, if you want to limit the current through an LED to a safe value, you can calculate the required resistance based on the LED’s forward voltage and desired current.
Example of Using Ohm’s Law
Let’s say you have an LED with a forward voltage of 2V and you want to limit the current to 20mA (0.02A). According to Ohm’s Law, the voltage drop across the resistor (V(R)) can be calculated as follows:
-
Subtract the LED forward voltage from the supply voltage (let’s assume a 9V battery):
V(R) = V(supply) – V(LED) = 9V – 2V = 7V -
Now, using Ohm’s Law, we can find the resistance:
R = V(R) / I = 7V / 0.02A = 350Ω
In this case, you would need a resistor of approximately 350Ω to ensure the LED operates safely. Since 350Ω is not a standard resistor value, you could use a 360Ω resistor instead, which is a common value.
Applications of Resistors
Resistors have a multitude of applications in electronic circuits:
– Voltage Dividers: Resistors can be arranged in series to create a voltage divider, allowing you to obtain a specific voltage from a higher voltage source.
– Pull-up and Pull-down Resistors: In digital logic circuits, resistors are used to ensure a defined logic level when no active devices are driving the line.
– Filters: In combination with capacitors, resistors can form filters that allow certain frequencies to pass while attenuating others, essential in audio and signal processing applications.
– Biasing Transistors: Resistors are used to set the operating point of transistors in amplifiers, ensuring they function within their optimal range.
– Timing Circuits: In conjunction with capacitors, resistors can create timing circuits that control the duration of events in electronic systems.
Types of Resistors
Resistors can be classified into two main types:
1. Fixed Resistors: These have a constant resistance value and are the most commonly used type in circuits.
2. Variable Resistors (Potentiometers): These allow you to adjust the resistance value manually, making them useful for applications such as volume controls or brightness adjustments in lighting systems.
Power Dissipation
In addition to controlling current, resistors also dissipate energy in the form of heat. This heat generation is an essential aspect to consider, as overheating can damage both the resistor and surrounding components. Therefore, resistors are rated for power, commonly expressed in watts (W), indicating the maximum power they can safely dissipate. Selecting the appropriate resistor rating is crucial to ensure reliability and safety in your circuits.
In summary, resistors are vital components in electronic circuits, providing control over current flow, enabling voltage division, and protecting sensitive components. Their diverse applications and essential functions make them a cornerstone of electronic design. Understanding their function and characteristics is crucial for anyone venturing into the world of electronics.
Key parameters
| Parameter | Typical | Range | Unit | Note |
|---|---|---|---|---|
| Resistance | 220 | 1 – 10 M | Ω | Value determines current flow. |
| Power Rating | 0.25 | 0.0625 – 5 | W | Maximum power dissipation. |
| Tolerance | 5 | 1 – 20 | % | Accuracy of resistor value. |
| Temperature Coefficient | 100 | 50 – 2000 | ppm/°C | Change in resistance with temp. |
| Voltage Rating | 250 | 50 – 500 | V | Maximum voltage across resistor. |
| Size | 0.25 | 0.1 – 1.5 | in | Physical dimensions of resistor. |
| Material | Carbon Film | Metal Film, Wirewound | — | Type of construction. |
Explanation of Key Parameters
- Resistance: Measured in ohms (Ω), this determines how much the resistor opposes the flow of current. A higher resistance value results in lower current flow for a given voltage.
- Power Rating: This indicates the maximum amount of power (in watts) that the resistor can safely dissipate without overheating. Exceeding this rating can lead to resistor failure.
- Tolerance: This percentage indicates how much the actual resistance can vary from its stated value. A lower tolerance means a more precise resistor.
- Temperature Coefficient: This value indicates how much the resistance changes with temperature, expressed in parts per million per degree Celsius (ppm/°C). A lower temperature coefficient is preferable for precision applications.
- Voltage Rating: This is the maximum voltage that can be applied across the resistor without risking breakdown or failure.
- Size: The physical dimensions of the resistor can affect its power rating and suitability for specific applications.
- Material: Different materials affect the performance and characteristics of the resistor, influencing factors like temperature stability and noise.
Hands-on practical project: LED Resistor Circuit
Goal: Build a simple LED circuit with a resistor to control brightness.
Estimated time: 30 minutes.
Materials
- 1 × 220 Ω resistor — To limit the LED current.
- 1 × LED — Light source for the circuit.
- 1 × 9 V battery — Power source for the circuit.
- 1 × battery holder — To hold the 9 V battery.
- 2 × jumper wires (red and black) — For connections.
- 1 × breadboard — To build the circuit easily.
- 1 × switch — To turn the LED on and off.
Step-by-step build
- Prepare the breadboard
Start by placing the breadboard on your workspace. Ensure it is free from any debris or conductive materials. Next, identify the power rails, which are typically marked with red and blue lines. These will supply power to your circuit. -
Check: Ensure the breadboard is clean and ready for use.
-
Connect the battery holder
Insert the battery holder into the breadboard, ensuring the positive side connects to the power rail (red) and the negative side connects to the ground rail (blue). This setup will allow you to power the circuit effectively. -
Check: Confirm the correct orientation of the battery holder to avoid reverse polarity.
-
Insert the LED
Place the LED on the breadboard with the longer leg (anode) connected to the positive rail and the shorter leg (cathode) connected to an empty row on the breadboard. Make sure that the LED is oriented correctly; otherwise, it won’t light up. -
Check: Verify the LED orientation before proceeding to ensure proper functionality.
-
Add the resistor
Connect one end of the 220 Ω resistor to the cathode of the LED, and the other end to the ground rail. The resistor will limit the current flowing through the LED, preventing it from burning out. Make sure the resistor is firmly placed in the breadboard. -
Check: Ensure the resistor is connected properly to avoid circuit failure.
-
Wire the switch
Insert the switch into the breadboard. Connect one terminal of the switch to the positive rail and the other terminal to the anode of the LED. This setup will allow you to control the flow of electricity to the LED. -
Check: Confirm the switch is properly connected to ensure it functions correctly.
-
Insert the battery
Finally, insert the 9 V battery into the battery holder. Ensure that the battery is oriented correctly, with the positive side facing the positive terminal of the holder. This completes your circuit, and the LED should light up when the switch is closed. - Check: Double-check the connections are secure before powering the circuit.
Testing and validation
- Test the circuit
Flip the switch to the ‘ON’ position. The LED should illuminate brightly. If it does not light up, recheck all connections and the orientation of the LED. Ensure the resistor is connected correctly as well. -
Check: Verify the LED is lit and functioning as expected.
-
Measure voltage across the LED
Using a multimeter, measure the voltage across the LED. This will help you confirm that the circuit is functioning correctly and that the voltage drop is within the LED’s specifications. - Check: Ensure the voltage reading is appropriate and within the LED’s rated voltage.
Extend the project
- Experiment with Different Resistor Values: Use different resistors to see the effect on LED brightness. This will help you understand how resistance affects current flow and LED intensity.
- Add Multiple LEDs: Connect multiple LEDs in series or parallel to create more complex circuits. This will teach you about the implications of current and voltage in different configurations.
- Use a Potentiometer: Instead of a fixed resistor, try using a potentiometer for adjustable brightness. This will give you hands-on experience with variable resistors.
- Implement a Second Switch: Create a multi-mode LED circuit by adding a second switch to control different LED patterns or brightness levels.
Safety
- Always Disconnect Power: Before making changes to the circuit, ensure that the power is turned off to avoid electric shock or component damage.
- Handle Components Gently: LEDs and other components can be fragile; handle them with care to avoid damage.
- Check Resistor Ratings: Ensure the resistor’s power rating is adequate for your circuit configuration to prevent overheating.
- Avoid Short Circuits: Keep wires separated and secured to prevent accidental short circuits that could damage components.
- Be Cautious with Battery Connections: Ensure proper connections to prevent sparks or overheating.
Common mistakes and how to avoid them
- Incorrect LED Orientation: Always check the anode and cathode before powering the circuit. A simple mistake can prevent the LED from lighting up.
- Using the Wrong Resistor Value: Calculate the needed resistance carefully to avoid excessive current through the LED, which can lead to failure.
- Not Securing Connections: Ensure all wires and components are firmly connected to avoid intermittent connections that can cause circuit malfunction.
- Overloading the Resistor: Choose a resistor with an appropriate power rating to prevent overheating and damage.
- Skipping Safety Checks: Always follow safety protocols when working with circuits to prevent accidents and ensure a safe working environment.
Conclusion
Understanding resistors is crucial for anyone interested in electronics. They play a vital role in controlling current, protecting components, and ensuring circuit functionality. Whether you’re building simple projects or complex devices, knowing how to use resistors effectively will enhance your skills. Start experimenting with different resistor values and configurations to see their effects in action. Happy building! More information at prometeo.blog
Third-party readings
- Resistores – SparkFun Learn
- Cómo usar una resistencia – Ingeniería electrónica básica
- Resistores: 9 pasos – Instructables
Find this product and/or books on this topic on Amazon
As an Amazon Associate, I earn from qualifying purchases. If you buy through this link, you help keep this project running.
Quick Quiz

Telecommunications Electronics Engineer and Computer Engineer (official degrees in Spain).