

Level: Basic – Build a circuit to clamp load voltage using diode forward drops.
Objective and use case
In this practical case, you will build a passive voltage limiter (clipper) circuit. By placing multiple silicon diodes in series parallel to the load, you will create a hard «ceiling» for the output voltage, preventing it from exceeding the sum of the forward voltage drops of the diodes.
- Input protection: Prevents high voltage spikes from damaging sensitive microcontroller inputs (ADCs).
- Simple regulation: Provides a crude but effective constant voltage reference without a Zener diode.
- Signal conditioning: Used in audio circuits to create distortion or «fuzz» effects by clipping signal peaks.
- Logical reference: Can be used to establish specific logic threshold levels in analog computing.
Expected outcome:
* When Input Voltage < ~2.1 V: The output voltage follows the input (minus minor resistive losses).
* When Input Voltage > ~2.1 V: The output voltage clamps and remains stable at approximately 2.1 V.
* The current through the diodes increases significantly once the threshold is reached.
* Target audience: Students and hobbyists learning about diode I-V characteristics.
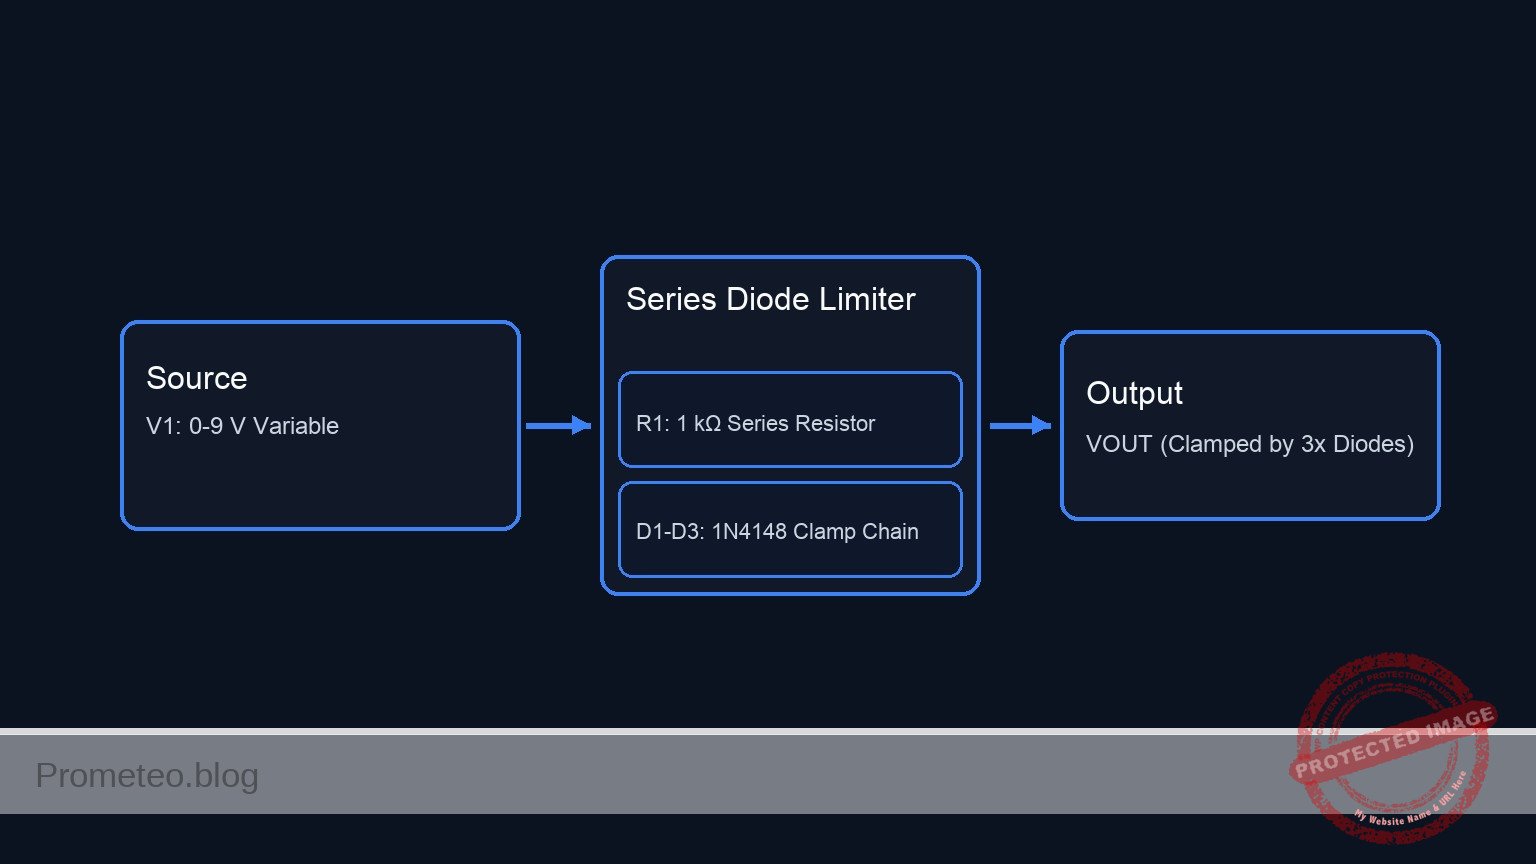
Materials
- V1: 0 V to 9 V Variable DC Power Supply, function: Input signal source.
- R1: 1 kΩ resistor, function: Current limiting for the diodes and source protection.
- R2: 10 kΩ resistor, function: Load resistor (simulating a downstream circuit).
- D1: 1N4148 Silicon Diode, function: First voltage drop element (~0.7 V).
- D2: 1N4148 Silicon Diode, function: Second voltage drop element (~0.7 V).
- D3: 1N4148 Silicon Diode, function: Third voltage drop element (~0.7 V).
Wiring guide
Construct the circuit following these connections. The node names (e.g., VIN, VOUT, 0) refer to specific electrical points in the circuit. Node 0 represents the Ground (GND).
- V1 (Source): Connect the positive terminal to node
VINand the negative terminal to node0. - R1 (Limiter): Connect one pin to node
VINand the other pin to nodeVOUT. - R2 (Load): Connect one pin to node
VOUTand the other pin to node0. - D1: Connect the Anode to node
VOUTand the Cathode to intermediate nodeN1. - D2: Connect the Anode to intermediate node
N1and the Cathode to intermediate nodeN2. - D3: Connect the Anode to intermediate node
N2and the Cathode to node0.
Note: This creates a chain where D1, D2, and D3 are in series with each other, and that entire string is in parallel with R2.
Conceptual block diagram
Schematic
[ INPUT SOURCE ]              [ SERIES LIMITER ]                  [ OUTPUT NODE & BRANCHES ]

                                                                 /------> [ R2: 10 kΩ Load ] ---------> GND (0)
                                                                 |
[ V1: 0-9 V Variable ] --(VIN)--> [ R1: 1 kΩ Resistor ] --(VOUT)-->+
                                                                 |
                                                                 |        [ VOLTAGE CLAMP CHAIN ]
                                                                 |
                                                                 \------> [ D1: 1N4148 ] --(N1)-->+
                                                                                                  |
                                                                          [ D2: 1N4148 ] <--------+
                                                                          |
                                                                          +--(N2)--> [ D3: 1N4148 ] --> GND (0)
Measurements and tests
Follow these steps to validate the limiting behavior.
-
Low Voltage Test (Below Threshold):
- Set V1 to 1.0 V.
- Measure the voltage at
VOUTrelative to GND. - Expected Result:
VOUTshould be approximately 0.9 V – 1.0 V (diodes are off/high impedance; R1 and R2 form a voltage divider).
-
Transition Test (Near Threshold):
- Set V1 to 2.5 V.
- Measure the voltage at
VOUT. - Expected Result:
VOUTbegins to lag behind VIN. Diodes start conducting.VOUTwill likely be around 1.8 V to 2.0 V.
-
Clamping Test (Above Threshold):
- Set V1 to 9.0 V.
- Measure the voltage at
VOUT. - Expected Result:
VOUTshould be clamped at approximately 2.1 V to 2.2 V (3 diodes × ~0.7 V each). It will NOT reach 9 V.
-
Transfer Curve Sweep:
- Slowly increase V1 from 0 V to 9 V while monitoring
VOUT. - Observe that
VOUTrises linearly initially, then «knees» over and flattens out around 2.1 V.
- Slowly increase V1 from 0 V to 9 V while monitoring
SPICE netlist and simulation
Reference SPICE Netlist (ngspice) — excerptFull SPICE netlist (ngspice)
* Practical case: Voltage limiter with series diodes

* --- Power Supply / Input Signal ---
* V1: 0 V to 9 V Variable DC Power Supply
* Modeled as a linear ramp (PWL) from 0V to 9V over 10ms
* This allows the transient analysis to show the voltage limiting characteristic.
V1 VIN 0 PWL(0 0 10m 9)

* --- Resistors ---
* R1: 1 kΩ resistor (Current limiting)
* Connects VIN to VOUT
R1 VIN VOUT 1k

* R2: 10 kΩ resistor (Load)
* Connects VOUT to Ground (0)
R2 VOUT 0 10k

* --- Diodes ---
* Chain of 3 diodes in series, connected in parallel with the load (R2).
* This clamps VOUT to approximately 3 * 0.7V = 2.1V.
* ... (truncated in public view) ...
Copy this content into a .cir file and run with ngspice.
* Practical case: Voltage limiter with series diodes

* --- Power Supply / Input Signal ---
* V1: 0 V to 9 V Variable DC Power Supply
* Modeled as a linear ramp (PWL) from 0V to 9V over 10ms
* This allows the transient analysis to show the voltage limiting characteristic.
V1 VIN 0 PWL(0 0 10m 9)

* --- Resistors ---
* R1: 1 kΩ resistor (Current limiting)
* Connects VIN to VOUT
R1 VIN VOUT 1k

* R2: 10 kΩ resistor (Load)
* Connects VOUT to Ground (0)
R2 VOUT 0 10k

* --- Diodes ---
* Chain of 3 diodes in series, connected in parallel with the load (R2).
* This clamps VOUT to approximately 3 * 0.7V = 2.1V.

* D1: 1N4148 Silicon Diode
* Anode -> VOUT, Cathode -> N1
D1 VOUT N1 1N4148

* D2: 1N4148 Silicon Diode
* Anode -> N1, Cathode -> N2
D2 N1 N2 1N4148

* D3: 1N4148 Silicon Diode
* Anode -> N2, Cathode -> Ground (0)
D3 N2 0 1N4148

* --- Models ---
* Standard model for 1N4148 small signal diode
.model 1N4148 D (IS=2.682n N=1.836 RS=0.5664 BV=100 IBV=20n CJO=4p TT=11.54n)

* --- Simulation Directives ---
* Perform a transient analysis for 10ms (matching the input ramp duration)
* Step size 10us
.tran 10u 10m

* Calculate DC operating point
.op

* Output data for plotting/logging
.print tran V(VIN) V(VOUT) V(N1) V(N2)

.end
Simulation Results (Transient Analysis)

Show raw data table (2016 rows)
Index   time            v(vin)          v(vout)         v(n1)
0	0.000000e+00	0.000000e+00	-9.87864e-23	2.810146e-18
1	1.000000e-07	9.000000e-05	8.083682e-05	5.389121e-05
2	2.000000e-07	1.800000e-04	1.626418e-04	1.084279e-04
3	4.000000e-07	3.600000e-04	3.262751e-04	2.175167e-04
4	8.000000e-07	7.200000e-04	6.535424e-04	4.356949e-04
5	1.600000e-06	1.440000e-03	1.308076e-03	8.720508e-04
6	3.200000e-06	2.880000e-03	2.617144e-03	1.744763e-03
7	6.400000e-06	5.760000e-03	5.235279e-03	3.490186e-03
8	1.280000e-05	1.152000e-02	1.047155e-02	6.981032e-03
9	2.280000e-05	2.052000e-02	1.865321e-02	1.243547e-02
10	3.280000e-05	2.952000e-02	2.683486e-02	1.788991e-02
11	4.280000e-05	3.852000e-02	3.501650e-02	2.334434e-02
12	5.280000e-05	4.752000e-02	4.319814e-02	2.879876e-02
13	6.280000e-05	5.652000e-02	5.137976e-02	3.425317e-02
14	7.280000e-05	6.552000e-02	5.956137e-02	3.970758e-02
15	8.280000e-05	7.452000e-02	6.774297e-02	4.516198e-02
16	9.280000e-05	8.352000e-02	7.592455e-02	5.061637e-02
17	1.028000e-04	9.252000e-02	8.410612e-02	5.607075e-02
18	1.128000e-04	1.015200e-01	9.228768e-02	6.152512e-02
19	1.228000e-04	1.105200e-01	1.004692e-01	6.697948e-02
20	1.328000e-04	1.195200e-01	1.086507e-01	7.243383e-02
21	1.428000e-04	1.285200e-01	1.168323e-01	7.788817e-02
22	1.528000e-04	1.375200e-01	1.250137e-01	8.334250e-02
23	1.628000e-04	1.465200e-01	1.331952e-01	8.879681e-02
... (1992 more rows) ...
Common mistakes and how to avoid them
- Reversing diode polarity: If diodes are connected Cathode-to-Anode (facing up towards positive), they will not conduct in forward bias. Solution: Ensure the band (Cathode) of D3 connects to Ground, and the arrows point from VOUT to Ground.
- Omitting R1: Connecting the source directly to the diode string without R1 causes a short circuit when V1 > 2.1 V, likely destroying the diodes. Solution: Always include a series resistor (R1) to drop the excess voltage.
- Using a low resistance load (R2): If R2 is very small (e.g., 100 Ω), it will dominate the circuit and reduce VOUT below the clamping threshold purely by voltage division. Solution: Ensure the load R2 is significantly larger than R1 (at least 10x larger) for sharp clamping action.
Troubleshooting
- Symptom:
VOUTequalsVINfor the entire 0-9 V range.- Cause: The diode path is open.
- Fix: Check for loose connections in the D1-D2-D3 string or a backwards diode blocking current.
- Symptom:
VOUTstays near 0 V even whenVINis increased.- Cause: Diodes are shorted or one diode is reversed and connected in parallel with the supply incorrectly (though R1 usually protects this).
- Fix: Check diode orientation. If a diode is reversed parallel to the load, it clamps at -0.7 V (essentially 0 V in this setup).
- Symptom: The clamping voltage is ~0.7 V or ~1.4 V instead of ~2.1 V.
- Cause: One or two diodes are shorted or bypassed.
- Fix: Verify that exactly three healthy diodes are in the series string.
Possible improvements and extensions
- Adjustable Clamp: Replace the fixed D1-D3 string with a Zener diode (e.g., 3.3 V or 5.1 V) to set a specific protection voltage with a single component.
- Visual Indication: Replace one of the standard diodes with a red LED. The clamp voltage will rise (LEDs drop ~1.8 V – 2.0 V), and the LED will light up when the input voltage exceeds the limit, acting as an «Overvoltage Warning.»
More Practical Cases on Prometeo.blog
Find this product and/or books on this topic on Amazon
As an Amazon Associate, I earn from qualifying purchases. If you buy through this link, you help keep this project running.
Quick Quiz

Telecommunications Electronics Engineer and Computer Engineer (official degrees in Spain).

